

When I shared my new travel cases last month, I received a lot of requests for a pattern, so I decided to write up a free tutorial for all of you to use. The tutorial bag is sort of a hybrid of the original two bags -- it's the size of the smaller one with the extended zipper of the second one. Because the bag is smaller, you can actually get by with just batting and fusible interfacing to strengthen the sides, but the pattern can easily be enlarged with the addition of a stronger layer of interfacing if you want to go bigger. Play around with it and have fun!
I named this bag after the heroine in one of my favorite old movies, It Happened One Night starring Clark Gable and Claudette Colbert. Ellie Andrews (Colbert) is a spoiled little rich girl who recruits a wise cracking reporter (Gable) to help her get back to her gigolo groom against the wishes of her father. This charming falling-in-love-while-on-a-road-trip story was actually the first of its kind and is only one of three movies in history to receive all five of the big academy awards. Don't let the 1934 film date fool you -- the witty dialogue holds up surprisingly well for a modern audience. Give it a try on your next movie night...

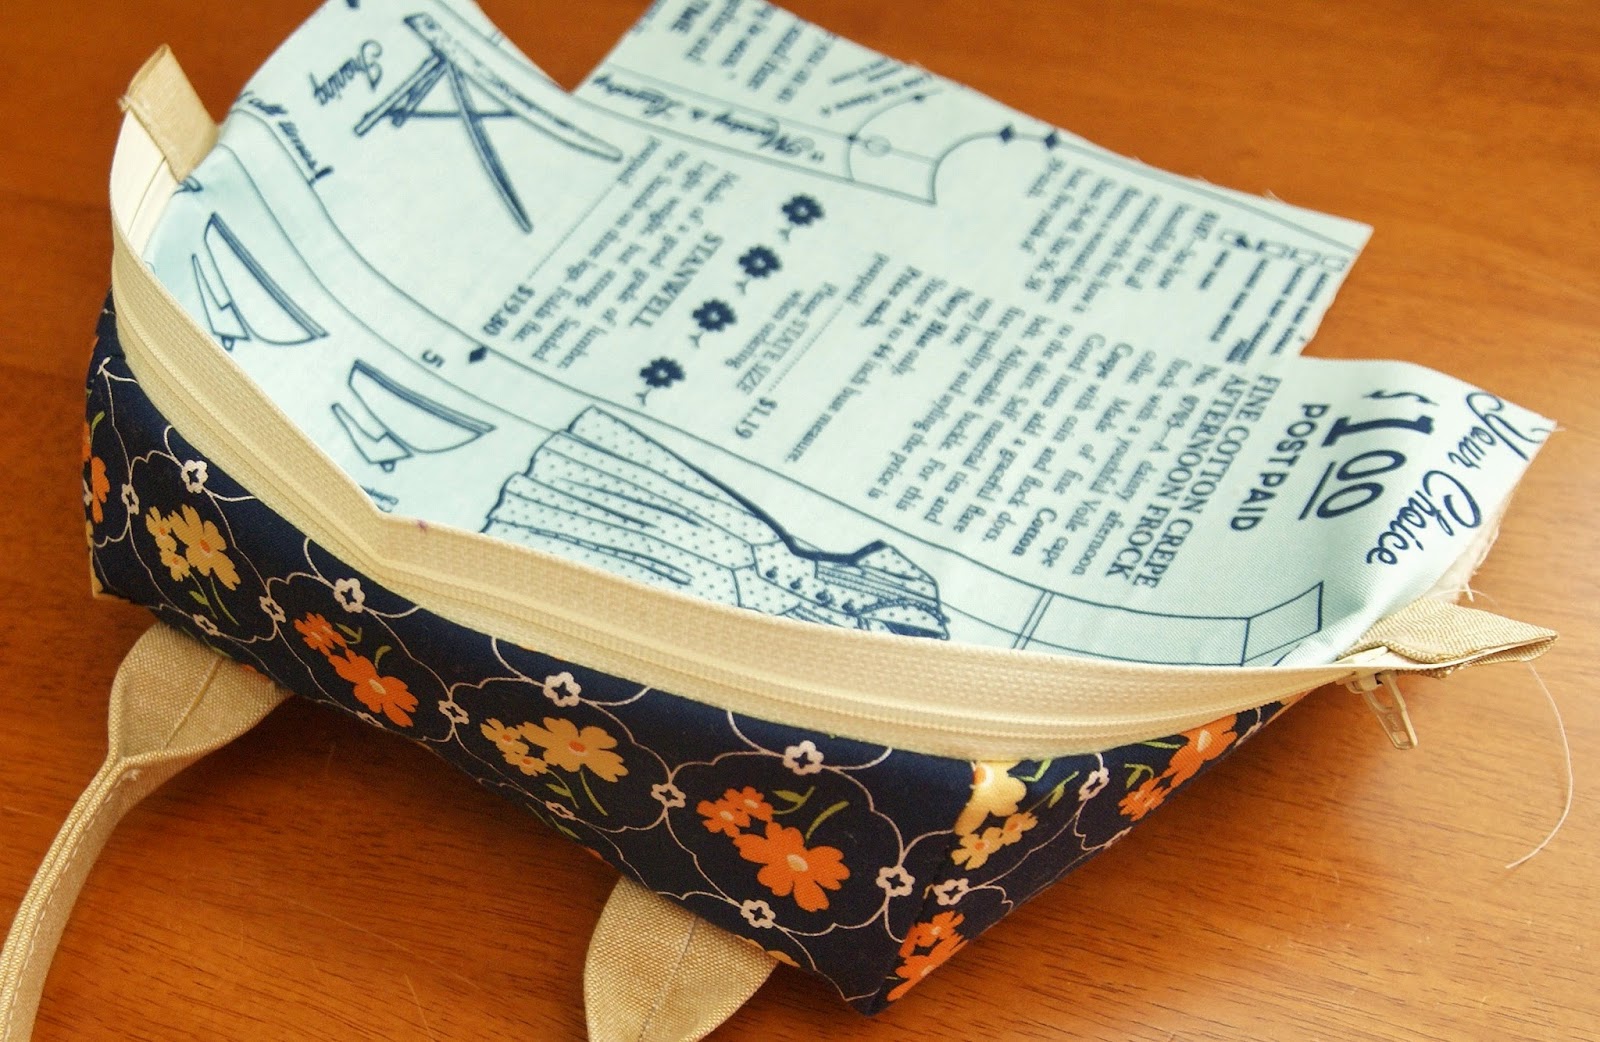
The final size of this bag is 7.5" square, but because it's also 4.5" deep, it can hold a ton of stuff. My sister let me enjoy a Yes to Carrots shopping spree for my birthday, and almost all of my goodies were able to fit inside with room to spare. This case makes a perfect cosmetics or toiletries bag and doubles as a cute little purse for a night out. A big thank you goes out to my friends at Riley Blake Fabrics who sent me these beautiful prints from the upcoming Vintage Happy collection by Lori Holt to use in this tutorial. I absolutely love these retro prints!
This bag now has a permanent home with my dear friend Tamie, who actually deserved a gold medal for saying to me the other day, "Just drop your kids off at my house for a few hours so you can work on your book. No problem!" Did I mention that Tamie already has eight children?
Okay, who's ready to sew?
Materials:
(2) 7 1/2 x 12" cotton print for the exterior main panel
(2) 5 x 12" linen for the exterior accent
(2) 12 x 12" cotton print for the bag lining
(2) 12 x 12" fusible interfacing to reinforce the lining (I used Pellon Craft Fuse)
(2) 12 x 12" batting to reinforce the exterior (you can attach regular batting with adhesive basting spray or
just use fusible batting)
(2) 2 1/2 x 13" linen for the handles
(2) 2 1/2 x 13" fusible interfacing to reinforce the handles (again, I used Pellon Craft Fuse)
(2) 1 1/2 x 3 1/2" linen for zipper tabs
(1) 16" zipper
coordinating thread
Clover clips or clothespins
*All seams are 1/4" unless otherwise noted.

1. Make the exterior. Stack a 7 1/2 x 12" exterior piece on top of a 5 x 12" linen accent piece with their right sides together, lining them up along a 12" side. Stitch along the 12" side and then press the seam open. Repeat with the other two exterior pieces. Fuse the batting to the wrong side of both these exterior pieces and then top stitch 1/4" below the seam on the linen accent piece. Cut 2 1/4" squares out of all four corners on both exterior pieces.
2. Make the lining. Fuse interfacing to the wrong side of the lining pieces. Cut 2 1/4" squares out of all four corners on both lining pieces.

3. Make the handles. Fuse the interfacing to the wrong side of the linen. Fold the handle piece in half, press, and unfold it. Now fold the two halves in half to meet at the center line, press, and refold on the original fold line. Hold the long edges of the handle together with Clover clips or clothespins, however leave 2" on each short of the handle unfolded (see picture above). Sew 1/8" from the open side of each of the handles, stopping 2" from each short end and backstitching. Fold the short ends of the handles in 1/4" toward the wrong side of the fabric, press, and then fold another 1/4". Clip the short ends of the handles to keep the fold in place until you're ready to attach them.
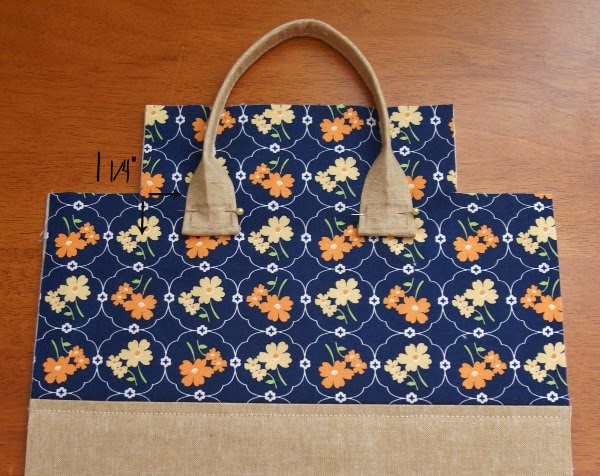
4. Attach the handles to the exterior. You can change the placement of your handles depending on how narrow a handle loop you prefer. I pinned my handles to the exterior pieces about 1 1/4" from the side of the cutout square and 1 1/4" below the bottom of the cutout square in the corner of each exterior piece (see photo above). Use a pencil or fabric pen to mark a rectangle at the bottom of each end of the handle.
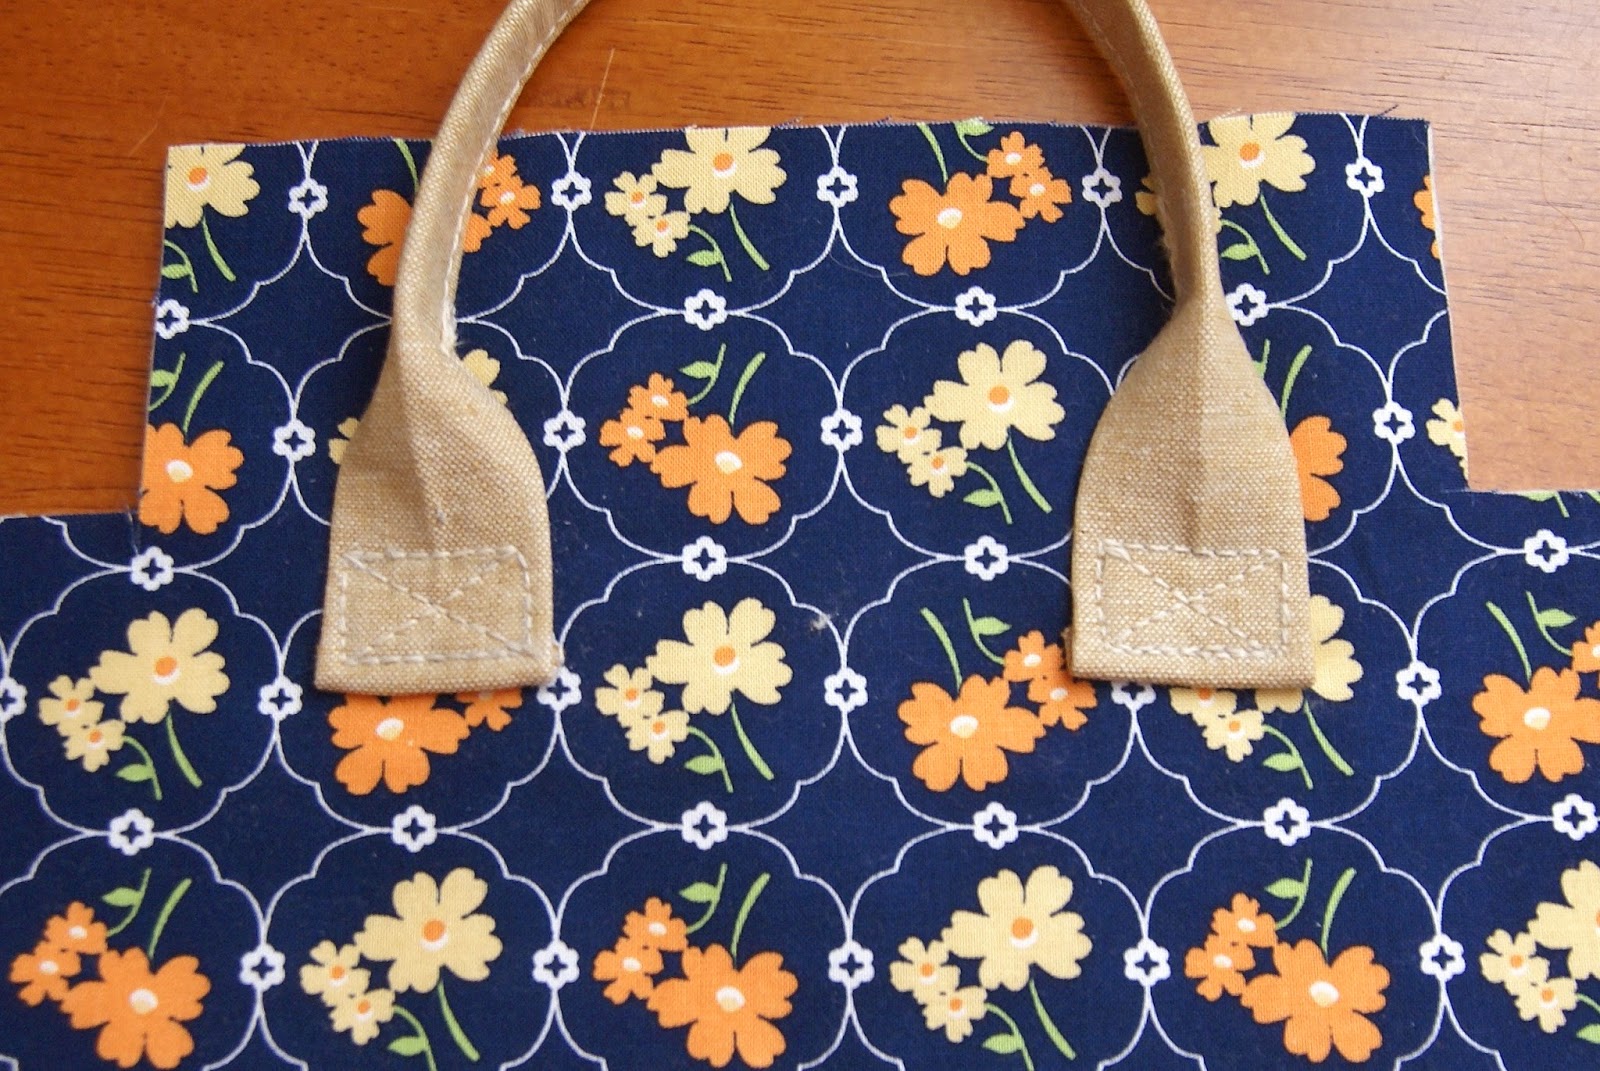
Sew over the rectangle and then sew an X in the middle of each rectangle. Repeat with the other handle and other exterior piece.

5. Box the top corners of the bag. Press the two sides of one of the cutout squares in the upper corners of the exterior together (right sides of fabric touching), and sew a 1/4" seam along that line to sew them together (see the picture above). Repeat with the other cutout squares in the upper corners of the exterior and lining. Do NOT do this with the squares on the lower corners of either the exterior or lining -- those will be a little different.
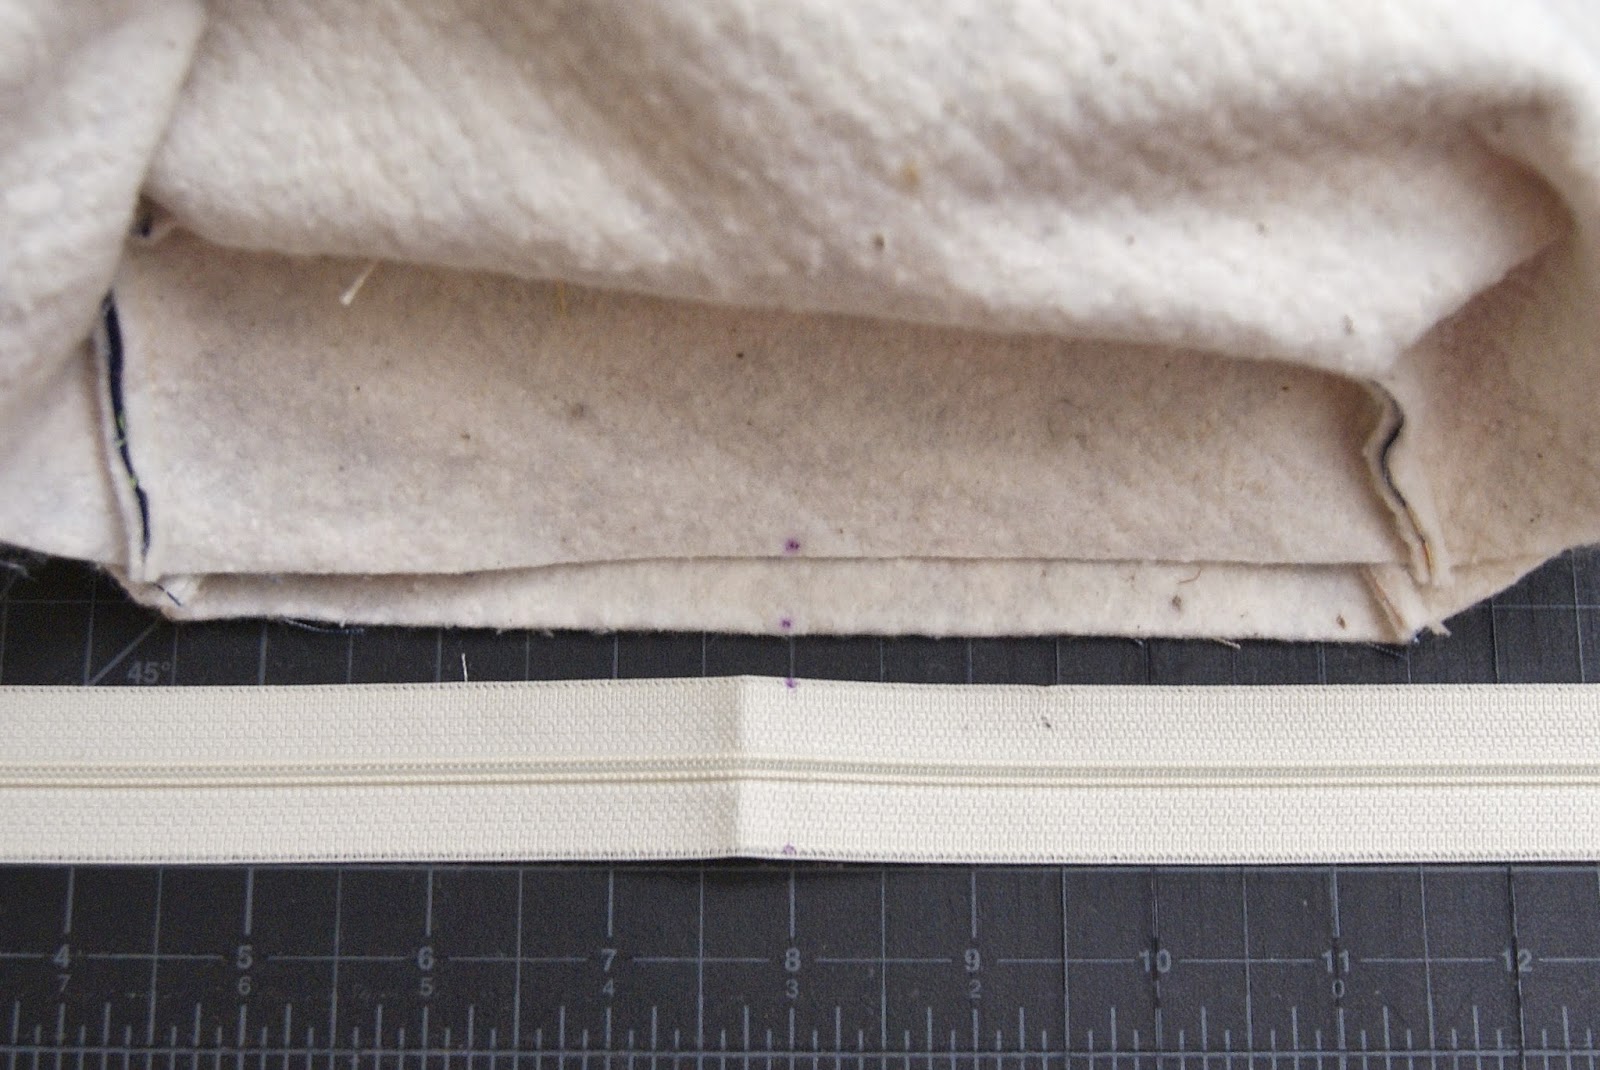
6. Prepare the zipper. Trim your zipper down to exactly 16" in length, discarding the ends and making sure that your zipper pull is still in the middle. Mark the halfway point on your zipper (8" from the ends) and the halfway point on the top of the exterior and lining pieces (about 3 1/2" from the seams on either side of the top).

7. Make the zipper tabs. Fold the zipper tab pieces in half so that the short ends meet (wrong sides together) and press. Unfold and then fold the short ends in toward the middle about 1/2", pressing them in place.

Place one of the short ends of the zipper right on the middle fold and refold the tab on the original fold, sandwiching the end of the zipper inside the tab. Stitch along the smaller fold of the tab, 1/8" from the zipper (see photo above). Repeat with the other tab on the other end of the zipper.

8. Attach the zipper. Pay careful attention to the photo above during this step. Stack the exterior (right side up), zipper (right side down), and lining (right side down) along the upper edge of the exterior and lining pieces. Match up the center dots on all three pieces and the boxed seams on the exterior and lining. Looking at the photo, you'll notice that this stack looks a little different because the upper corners are boxed, but it's the same concept as stack pieces for a regular zipper installation. Use Clover clips or clothespins to clip the edges in place and sew 1/4" from the edge of the zipper. Where you start sewing will depend on whether or not you want the zipper tabs to show on the sides of your bag. If you want them to show, start sewing about halfway down the zipper tab, all the way around the top opening and stopping about halfway down the other zipper tab. If you'd rather not see the tabs, start at the very top of the tab where it touches the zipper. Backstitch at both ends.
Fold the exterior and lining pieces back from the zipper and press along the zipper (being careful not to melt the zipper itself). Repeat this step on the other side. It will be a little harder this time with the bulk of the other side of the bag getting in the way, but if you go carefully and clip securely, it should be fine.

9. Sew the lining and exterior together. This step sounds strange, but try to keep in mind the image of finishing a typical zipper pouch where you have the lining on one side of the zipper and the exterior on the other side. Refer to the photo as you go along. Unzip the bag at least halfway. Arrange the pieces of the bag so that the lining is sitting with right sides together and the exterior has right sides together as well. There will be an odd looking "crater" in the middle where the zipper is, but don't let it worry you. Start clipping or pinning the lining pieces together, making sure that the cutout squares in the lower corners match up. Do the same on the exterior side of the bag.

10. Start on the lower opening of the lining (between the two cutout squares) and follow the sewing path on the photo above, stitching 1/4" from the edge. Do NOT sew on the cutout squares -- we'll get to that next. The tricky part is where the lining and exterior meet, but don't let it throw you. The zipper tab will stick out a bit between the two sides of the bag. Just stitch along the lining and make a right angle at the turn to the exterior so that you maintain that 1/4" seam there as well. Travel all the way around until you get back to the lower edge of the lining, leaving a gap in the bottom of the lining for turning. Backstitch at both ends.

11. Box the bottom edges of the bag. Take one of the cutout squares in the lining or exterior and press the opposite corners together so that the side and bottom seams match up. Stitch 1/4" from the raw edges. Repeat on the other three cutout corners.

12. Put your hand in through the gap in the lining and through the zipper, grab the exterior, and carefully pull it out through the gap so that the bag is right side out. You can reach through the gap in the lining to poke out the bottom corners of the exterior. Tuck the raw edges down into the gap in the lining and sew the opening closed, about 1/8" from the folded edge.

13. Push the lining into the bag and press the bag as you are able. Fill it up with goodies and enjoy!
If you have any questions about this tutorial, please feel free to send me an email at hjstaples@gmail.com. If you make one of your own, send me a photo or add it to the Inspired by Fabric Mutt flickr group. I'd love to see what you make!
Linking up to Finish It Up Friday for the first time in ages!


