Wednesday, January 27, 2016

The Stationery Kit Tutorial


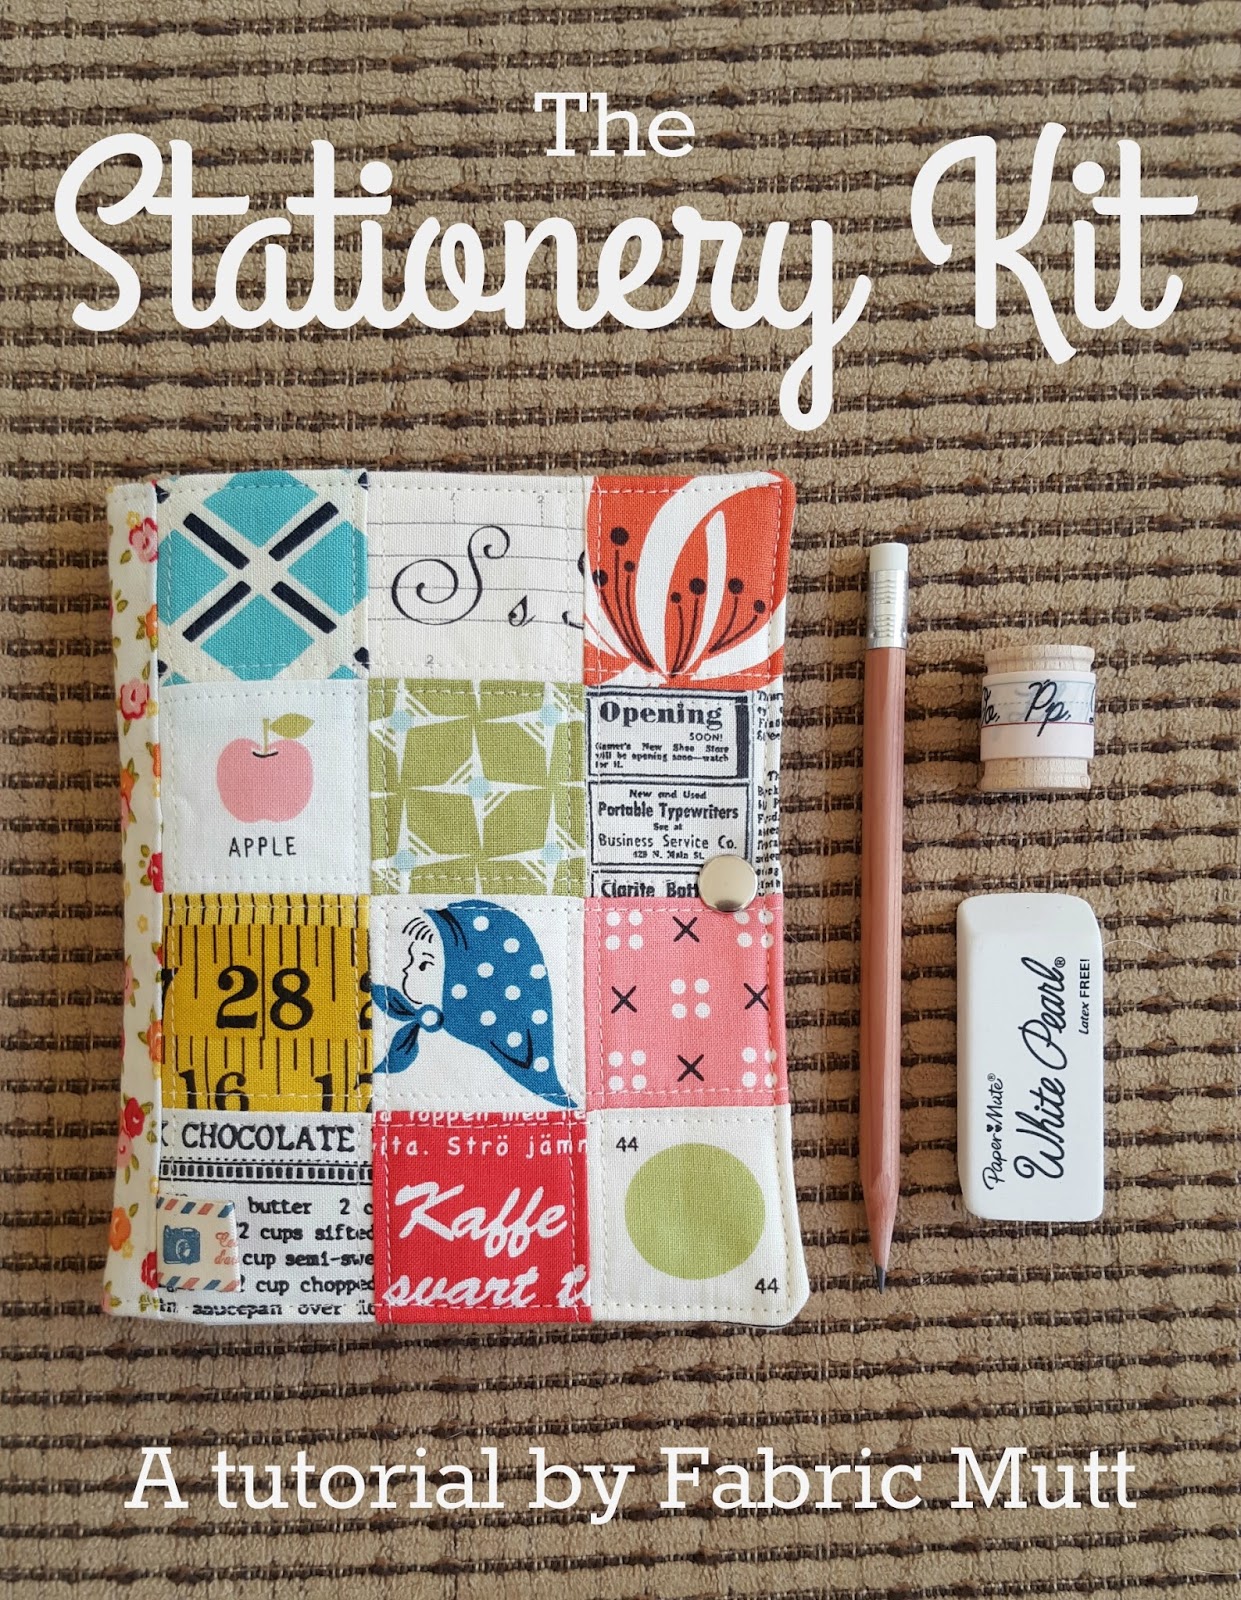
As promised, here's the free tutorial for the Stationery Kit I shared with you on Monday for the Paperie Blog Tour.


This little kit is perfect for holding stationery (of course!), to-do lists, recipe cards, EPP projects, embroidery projects, school flashcards, craft supplies, and whatever else you brilliant people come up with to tuck inside.


I think this would make a fabulous Valentine's Day gift. Just pop in a few goodies from the dollar section at Target (notepads, short pencils, page flags, maybe even a gift card), and you've got an adorably useful gift for your kid's teacher, your best friend, or just about anyone else in your life! If you make one of these and share it on Instagram, please be sure to tag it #stationerykit and tag me too @fabricmutt.

Okay, let's sew!


Cutting Instructions

Cut 6 low volume squares 2 x 2'' for cover patchwork.
Cut 6 saturated color squares 2 x 2'' for cover patchwork.
Cut 1 rectangle 6 x 6 1/2'' for back cover.
Cut 1 batting rectangle 7 x 11'' for cover interfacing.
Cut 1 rectangle 3 1/2 x 5'' for envelope pocket.
Cut 1 muslin rectangle 2 1/2 x 3 1/2'' for envelope pocket interfacing.
Cut 1 rectangle 3 1/2 x 4 1/2'' for envelope exterior.
Cut 1 muslin rectangle 3 1/2 x 4 1/2" for envelope exterior interfacing.
Cut 1 rectangle 3 1/2 x 4 1/2'' for envelope lining.
Cut 1 rectangle 6 1/2 x 10 1/2'' for kit lining.
Cut 1 muslin rectangle 6 1/2 x 10 1/2'' for kit lining interfacing.
Cut 1 rectangle 7 x 10 1/2'' for inside pocket.
Cut 1 muslin rectangle 3 1/2 x 10 1/2'' for inside pocket interfacing.

Other Materials

2'' long piece of twill tape
2 metal snaps (You can substitute other fasteners like Velcro or a hair elastic & button if needed!)
adhesive basting spray
chopstick or turning tool
spool or other object with a round edge
pencil

*Note: all seams 1/4'' unless otherwise noted

Make the Cover


1. Arrange the 2 x 2'' squares in a 3 x 4 grid as shown above, alternating low volume and saturated prints. Sew them together to form a 5 x 6 1/2'' cover.


2. Fold a 2'' long piece of twill tape in half, wrong sides together, so that the short ends meet. Baste the short ends together 1/8'' from the short end. Center those short ends on the left side of the bottom left hand square of the cover and baste in place.


3. Use the adhesive basting spray to fuse the wrong side of the patchwork cover to the 7 x 11'' piece of batting. Keep the cover toward the right 7'' side so that there will be room for the back cover as well. Quilt as desired.


4. Sew a 6 1/2'' side of the back cover piece to the left 6 1/2'' side of the front cover patchwork piece. Use adhesive basting spray to fuse the wrong side of the back cover to the left side of 7 x 11'' piece of batting and quilt as desired.


5. Trim the excess batting off the cover. Your final rectangle should be 6 1/2 x 10 1/2''. 

Make the Envelope


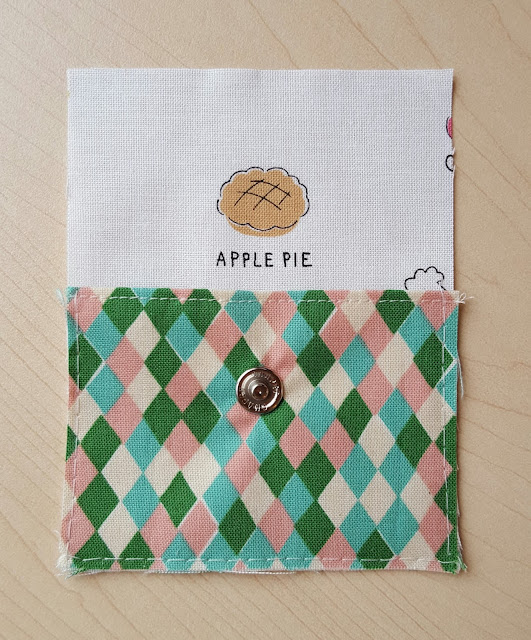
1. Fold the 3 1/2 x 5'' rectangle in half, wrong sides together, so that the short ends meet and slip the matching piece of muslin between the two halves of fabric. Top stitch 1/8'' from the fold. 

2. Following the manufacturers instructions, center the stud end of the snap about 3/4'' from the pocket fold and attach securely in place.


3. Stack the pocket on top of the lower short end of the envelope lining piece so that the edges match up and baste in place. Fuse the 3 1/2 x 5 1/2'' piece of muslin to the wrong side of the envelope exterior with adhesive basting spray.

4. Place the pocket lining and envelope exterior pieces right sides together with the top of the envelope (the flap that you'll be able to see) pointed away from the pocket. Use a spool to trace and trim rounded edges on the flap corners.


5. Stitch all the way around the outside of the rectangle, leaving a 2-3'' gap on one long side. Trim the seam allowance down to 1/8'' except for where the opening is.

6. Turn the envelope right side out through the gap, carefully pushing out the corners with a chopstick. Push the raw edges inside the gap, press, and stitch 1/8'' all the way around the envelope. 

7. Attach the socket end of the snap to the flap of the envelope, carefully matching it up so that it will work correctly with the other half of the snap.

Make the Lining

1. Fold the inner pocket rectangle in half lengthwise and press. Slip the 3 1/2 x 10 1/2'' piece of muslin inside, fusing it down with adhesive basting spray if desired, and top stitch 1/8'' from the fold.


2. Place the envelope on the left side of the inner pocket, about 1 1/4'' from the left edge and 3/8'' below the inner pocket fold. Make sure that the envelope flap is open. Spray a bit of adhesive basting spray on the main back of the envelope (not the flap) to hold it in place. 

3. Stitch the envelope down by sewing over the original 1/8'' top stitching on the pocket part of the envelope and then sewing across just underneath where the flap folds down.


4. Fuse the 6 1/2 x 10 1/2'' muslin to the wrong side of the kit lining piece. Baste the inner pocket in place along the lower edge of the lining. Use a pencil or hera marker to trace a line down the center of the lining and the inner pocket, and then stitch over it to divide the pocket and lining in half.

Finish the Kit

1. Place the kit cover and lining on top of each other, right sides together. Sew all the way around the outside of the rectangle, leaving a 3-4'' gap on the top long edge, preferably over what will be the back cover. Trim the corners.

2. Turn the kit right side out through the gap, gently pushing the corners out with a chopstick. Push the raw edges back inside the gap and press. Top stitch 1/8'' from the edge all the way around the cover.


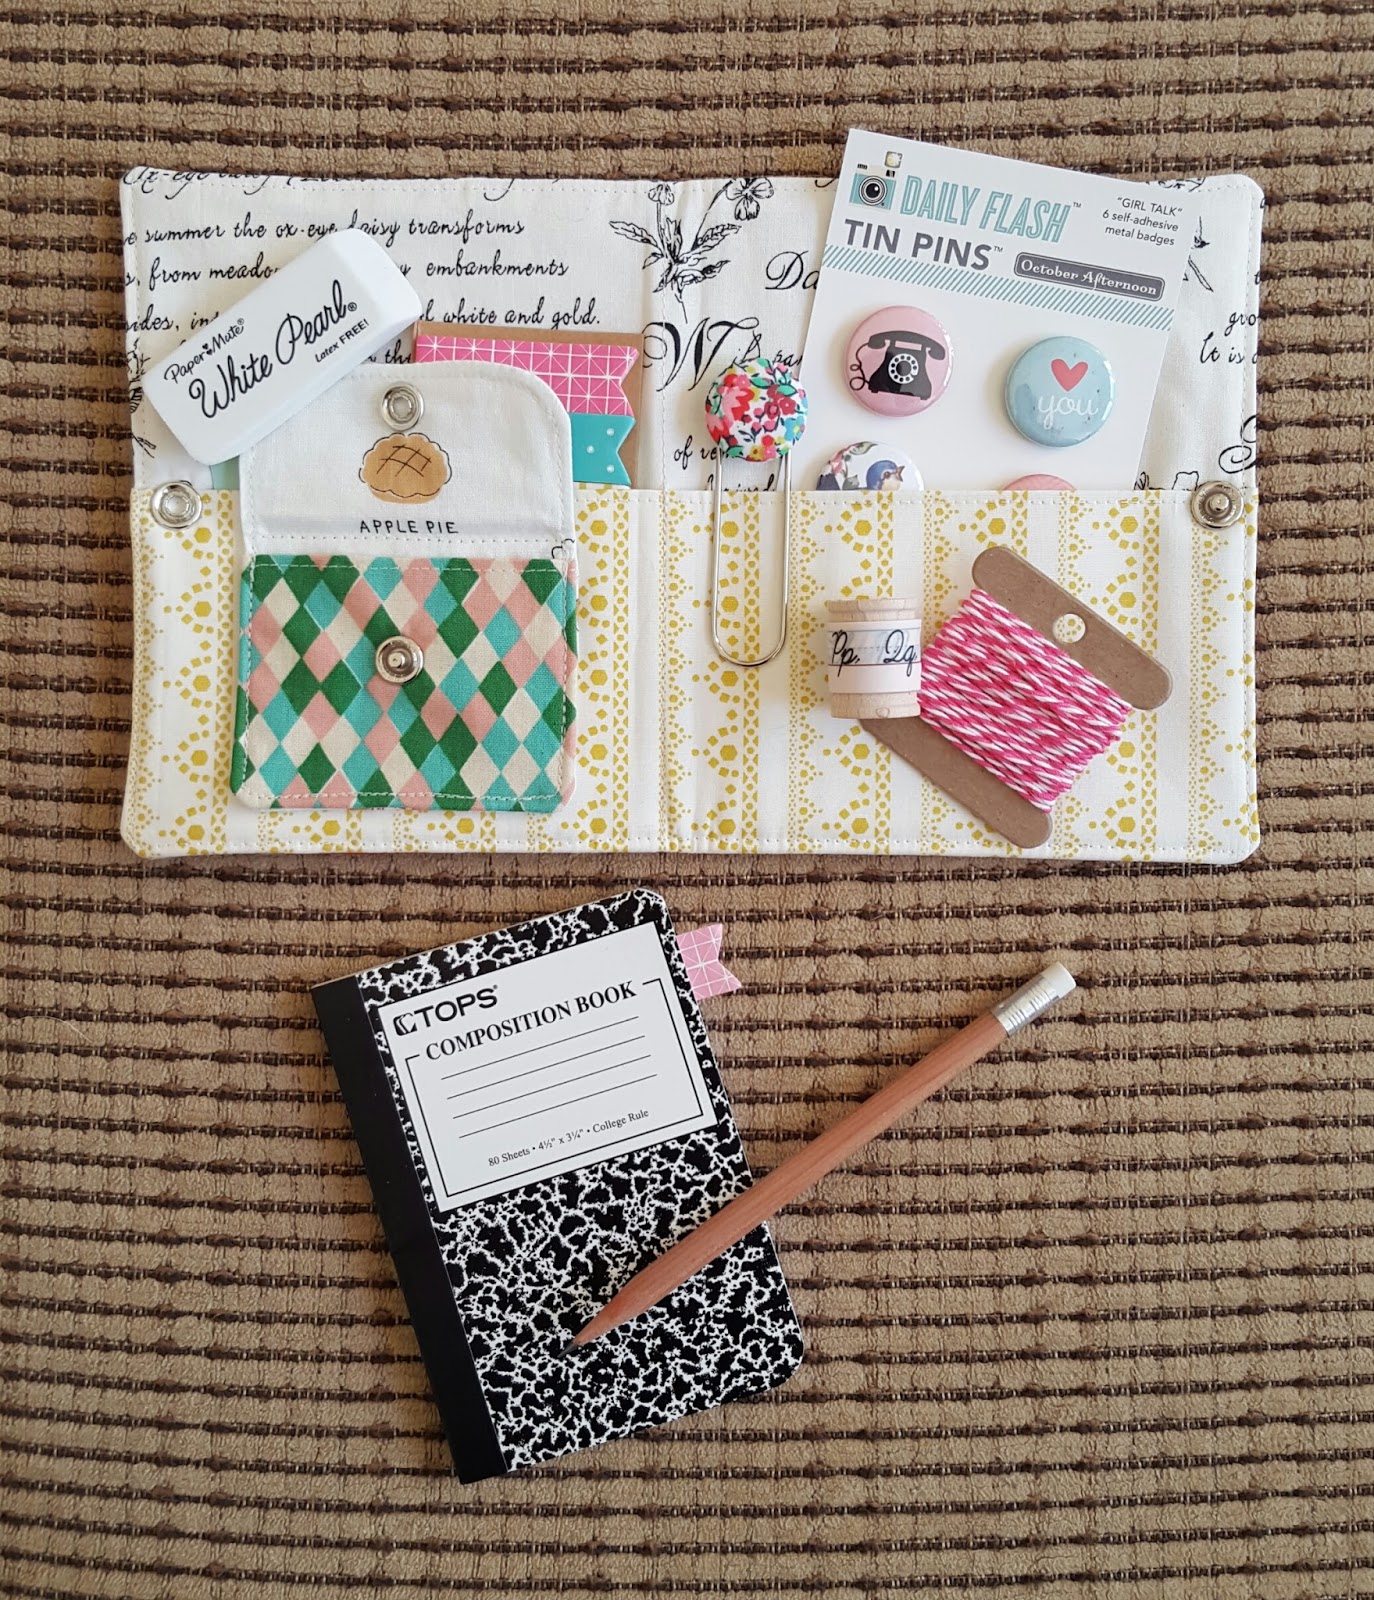
3. Center the socket half of the other snap about 1/8'' from the right side of the cover and attach (both these snaps will go through the inner pocket as well). Attach the stud half of the snap to the opposite side of the kit lining, making sure that both halves match up correctly. Fill the kit with goodies and enjoy!

Monday, January 25, 2016

Paperie Tour: The Stationery Kit

Paperie Stationery Kit by Heidi Staples for Fabric Mutt

Today's project hits all my happy buttons. Not only do I get to kick off the Paperie Blog Tour, but I get to share a project with you that involves so many of my favorite things:

1. adorable fabric that is inspired by both vintage style and classic literature
2. simple patchwork
3. a small but useful item
4. stationery and office supplies

Is it any wonder I'm smiling today?

Paperie Stationery Kit by Heidi Staples for Fabric Mutt

I was so thrilled when Amy asked me to be part of the tour to celebrate the release of her Paperie collection for Art Gallery Fabrics. As you know from the EPP kit I shared with you last month, I had already purchased a fat quarter bundle of Paperie before she sent me more for this project. These prints are just the sweetest. I love the light colors, the vintage yet modern vibe, the quotes from some of my all-time favorite stories. Is there anyone out there who can resist Jane Eyre and Pride & Prejudice? Not this girl...

Paperie Stationery Kit by Heidi Staples for Fabric Mutt

I had originally planned to make a Constance Organizer, but lately it's been so fun to shrink some of my old tutorials down to smaller, cuter versions of themselves. This little Stationery Kit absolutely stole my heart when it was finished, and now I want to make a whole lot more of these...so yes, a tutorial is probably coming soon. My favorite part is probably that little envelope on the inside -- just the perfect size for stamps, paper clips, or even little love notes.

Photo courtesy of Amy Sinibaldi

Amy is generously offering to send a charm pack of this darling fabric to one lucky winner, so check out my account on Instagram @fabricmutt to enter. If for some reason you're not on Instagram and would still like to enter the giveaway, just leave a comment below telling me so, and I'll make sure your hat is in the ring.

**UPDATE: Giveaway now closed. Congrats Kristin Esser!

Paperie Stationery Kit by Heidi Staples for Fabric Mutt

Have a lovely day, my friends!

Friday, January 15, 2016

Trunk Show in San Antonio


For those of you who live in the San Antonio, Texas area, I'll be doing a trunk show at Sew Special Quilts on Saturday, January 30th from 10 to 11 A.M. The shop is charging an admission fee of $10, with a $5 discount if you purchase one of my books. You can call Sew Special at (210) 698-6076 to reserve a spot. We'll be looking at projects from my book and blog, talking about organization, and answering questions. All the details are right here. I would absolutely love to see you there!

Sunday, January 3, 2016

Desert Bloom Hot Pads

Dear Stella Fabrics Desert Bloom Hot Pads by Heidi Staples for Fabric Mutt

When I saw the first pictures of Desert Bloom by Rae Ritchie for Dear Stella, I thought it was lovely. So lovely that I emailed them and said that I'd be happy to join in if they were planning a blog hop to celebrate the collection. Even though they had no official events on the schedule, they were sweet enough to send me a bundle to play with this week.

Dear Stella Fabrics Desert Bloom Hot Pads by Heidi Staples for Fabric Mutt

I had originally planned to make a pillow with this fabric, but when I opened the package, I was floored by those gorgeous watercolor designs. All I could think of were vintage tea towels and linens, and I knew that these prints would look gorgeous in my kitchen. I spent the next two days sewing nothing but potholders and trivets. The mix of botanical prints (those succulents!) and simple basics is just right. That Scallop Dot print in black, white, and blush is a fantastic blender, and it worked perfectly for the binding and loops on these projects. I am so glad I ditched the original plan and went with my impulse on this one. I absolutely love the way these turned out.

Dear Stella Fabrics Desert Bloom Hot Pads by Heidi Staples for Fabric Mutt

But why stop there? I'm thinking cloth napkins, tablecloths, place mats, table runners. This could be the start of a whole new obsession...

Saturday, January 2, 2016

Big Bear Cabin Quilt

Big Bear Cabin Quilt using Birch Fabrics by Heidi Staples for Fabric Mutt

The design for this quilt first appeared in my sketchbook months ago. I've always been a fan of the Bear Paw quilt block, and I thought it would be fun to do a giant version of the block and turn the center of each paw into a Log Cabin block. My husband and I spent one of our early wedding anniversaries in a cabin up at Big Bear Lake in California, so there was a little nostalgia to this for me too. I've been waiting all this time for the right fabric to appear, and when I received a package of goodies from my friends at Birch Fabrics & Fabricworm, I realized that this was exactly what I'd been waiting for. I pulled together prints from their lovely new Wild Land collection by Miriam Bos (including a few extras that I went back and purchased myself because I loved them so much!), along with the new Twinkle and Firefly Mod Basics, and paired them with some Birch solids that I've been hoarding for the last year. The result is everything I dreamed it would be.

Big Bear Cabin Quilt using Birch Fabrics by Heidi Staples for Fabric Mutt

I love the mix of textures and colors in this quilt. The rustic block designs paired with flowers and stars and those darling horses. The alternating warm and cool spectrum of colors, which actually came about because I didn't have enough of the solids to make each block into an entire rainbow spectrum on its own. And the solids -- why don't I use solids more often? I love seeing them mixed in with the prints here. Yes, I know the Bear Paw isn't technically right since I have three triangles on each side of the square instead of two, but I love it this way. And that little bit of floral print mixed in with the browns makes me so happy.

Big Bear Cabin Quilt using Birch Fabrics by Heidi Staples for Fabric Mutt

The quilt sashing and binding strips are a mix of Quilter's linen and Kona solid in shades of off white -- I can't remember the exact color names. I backed the quilt in a green Twinkle print and a pale blue arrow print from Wild Land.

Big Bear Cabin Quilt using Birch Fabrics by Heidi Staples for Fabric Mutt

We've all been trying to get over a nasty cold virus at my house lately. Miss Bear was the first one to fall ill earlier this week, and to cheer her up, I let her sew a pillow cover with me using this gorgeous print from Wild Land. She is so proud of this pillow. And I think between her pillow and my quilt, we've put together a cozy spot to read by the fireplace on this rainy winter day...
Related Posts Plugin for WordPress, Blogger...